How we used Contentful to power our marketing website
When launching a new startup there is a constant stream of decisions to make and one of those is what to use for a marketing website. With various startups in the past we’ve opted for the tried and tested Wordpress, through to fast static site generators like Jekyll, hosted in an Amazon S3 bucket. While these options are still available, the number of new options continues to grow. One of those options is to go with a headless content management system (CMS).
What is a headless CMS?
A headless CMS is one that provides all the features and tools for managing content, but does not have a built-in front-end for displaying that content. Instead, the content is made available through an API, which allows developers to access the content and integrate it with any front-end platform or application they choose. This approach allows for greater flexibility and customization, as the content can be displayed on any platform or device, and can be easily integrated with other systems and services.
Essentially, it gives you a user friendly interface for your marketers and writers to use, as well as an API for developers to pull page and post data from.
At Bunny we decided headless CMS was the right direction for our new website and set about trying several different vendors. We did a simple POC with each vendor and for a variety of reasons - including ease of use, nice UI and GraphQL API - we decided to go with Contentful.
For the rest of this post I’ll walk you through some of the key things we did to set up our Contentful data model, and how we built out components in a Next.js frontend to enable the quick development of new posts and pages.
Building upon the POC
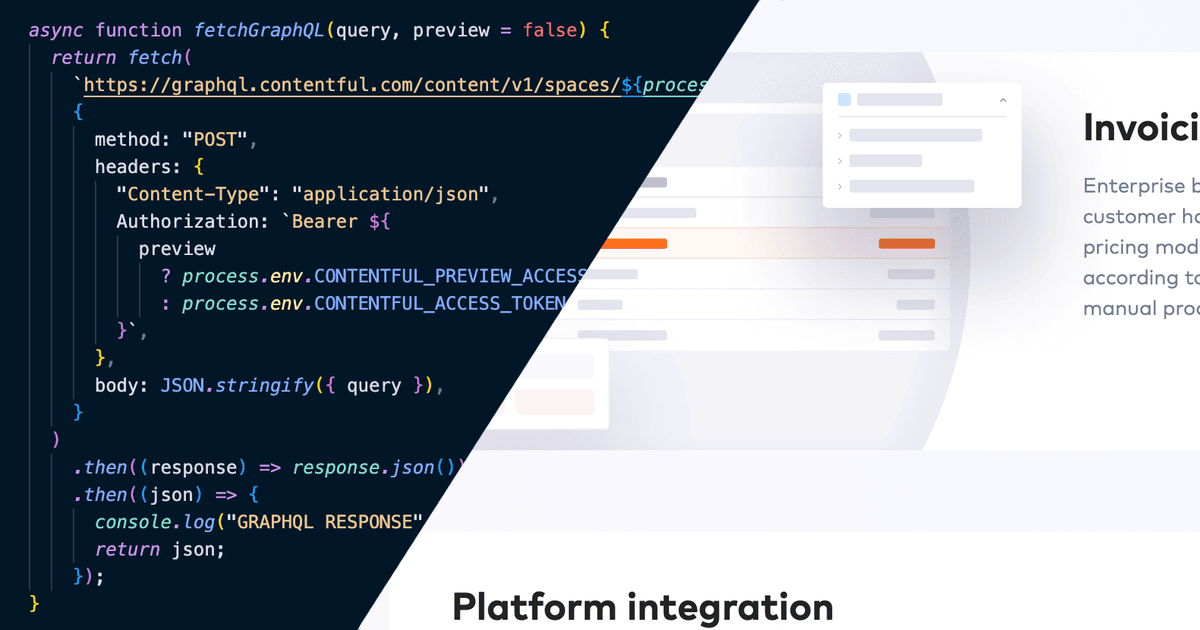
As I mentioned, one of the advantages of using a headless CMS is that we can still benefit from the speed of a static website for our front end. For building the static site we wanted to use Next.js and fortunately, Contentful had provided a sample app that let us quickly build a POC and get a feel for how it should all work.
We then evaluated the designs put forward by our design team and considered how we might build these pages using Next.js components.
Some of our design goals included:
Being able to edit all content on the page including metadata from Contentful
Ability to change out images
Ability to easily create new top level landing pages
A blog with ability to preview and schedule posts
Our website design was composed of several different styles of components, so it became clear that we needed to work out a way to configure and control how these were added to a page within Contentful.
Designing the data model
Contentful has a concept of Content Models which are schemas, where you define the fields that are available and what type of data can be entered into them. You then create content by selecting one of these content models and filling out the required fields.
At a high level our content model contains an object called Landing Page and then a series of Sections that represent each of the style components that we defined in the Next.js app.
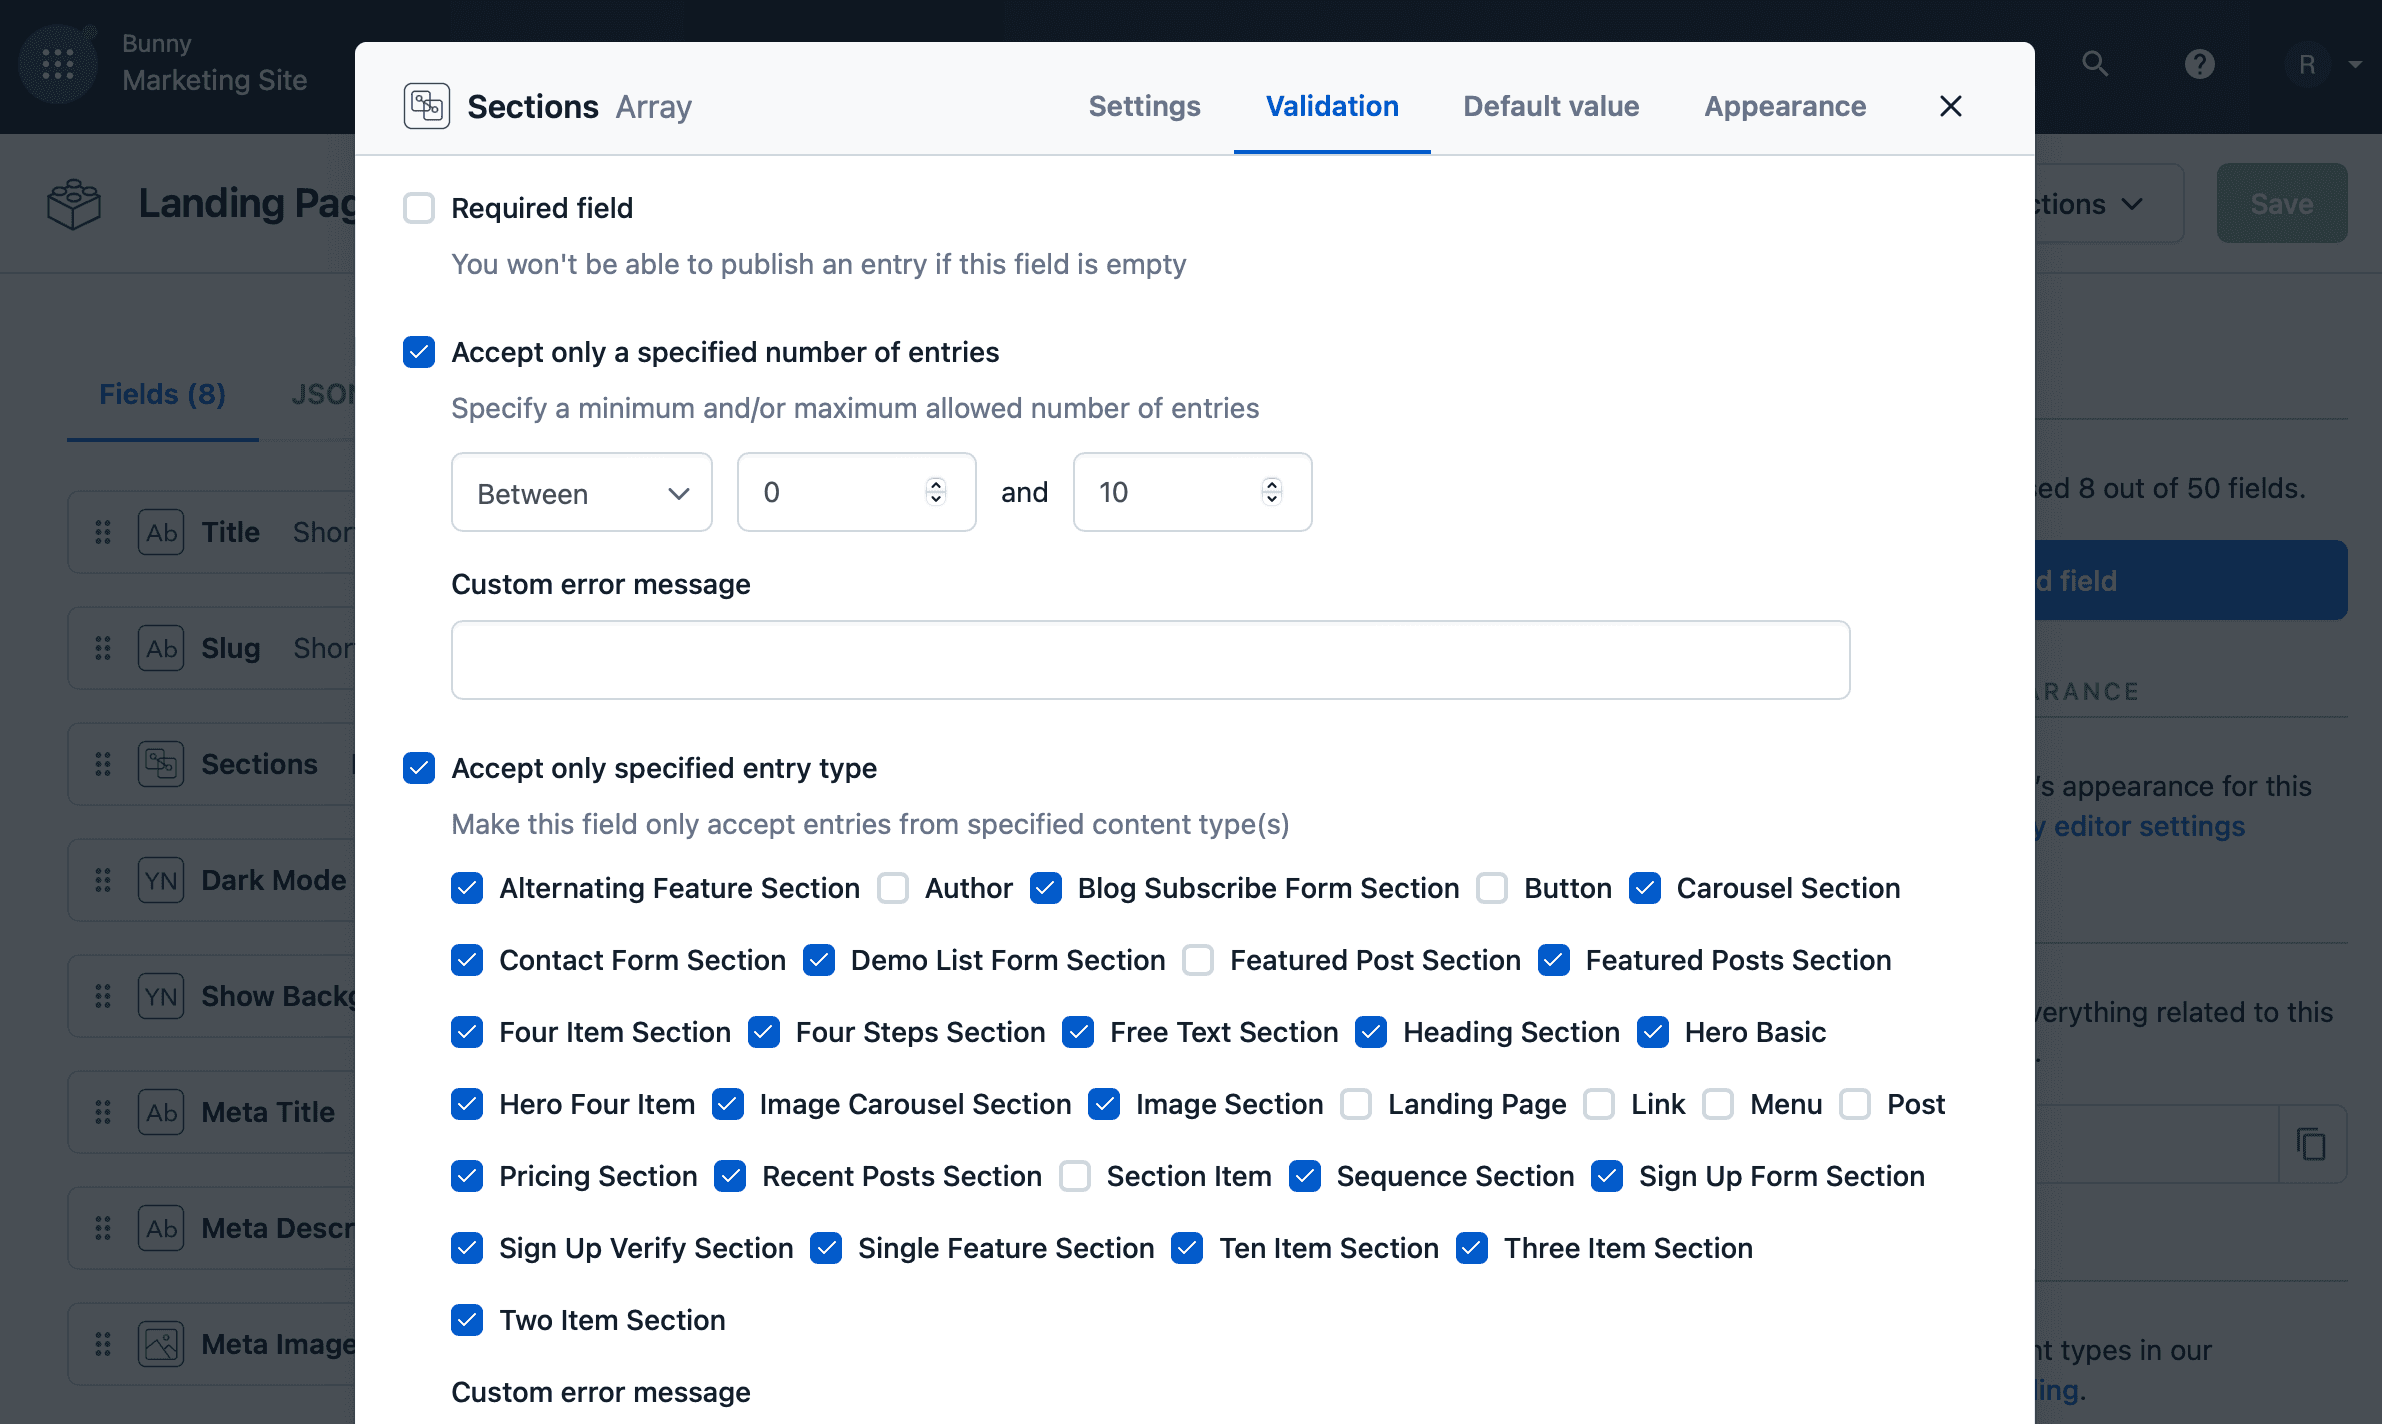
Within the Landing Page model we have all of the basic fields you might expect for a landing page such as title, description, metadata, toggles for things like dark mode and most importantly, a field called Sections which allows us to include all of the other Section models.
Bringing it all together
To support our content model we need to modify our Next.js app to support landing pages with variable slugs. Fortunately, Next.js makes that very simple with the ability to name pages with [slug].js and then generate a static representation of the page on its first load.
This is the basis of our landing page which then fetches the content for the page from Contentful based on the slug and loops through the section items to build out the page.
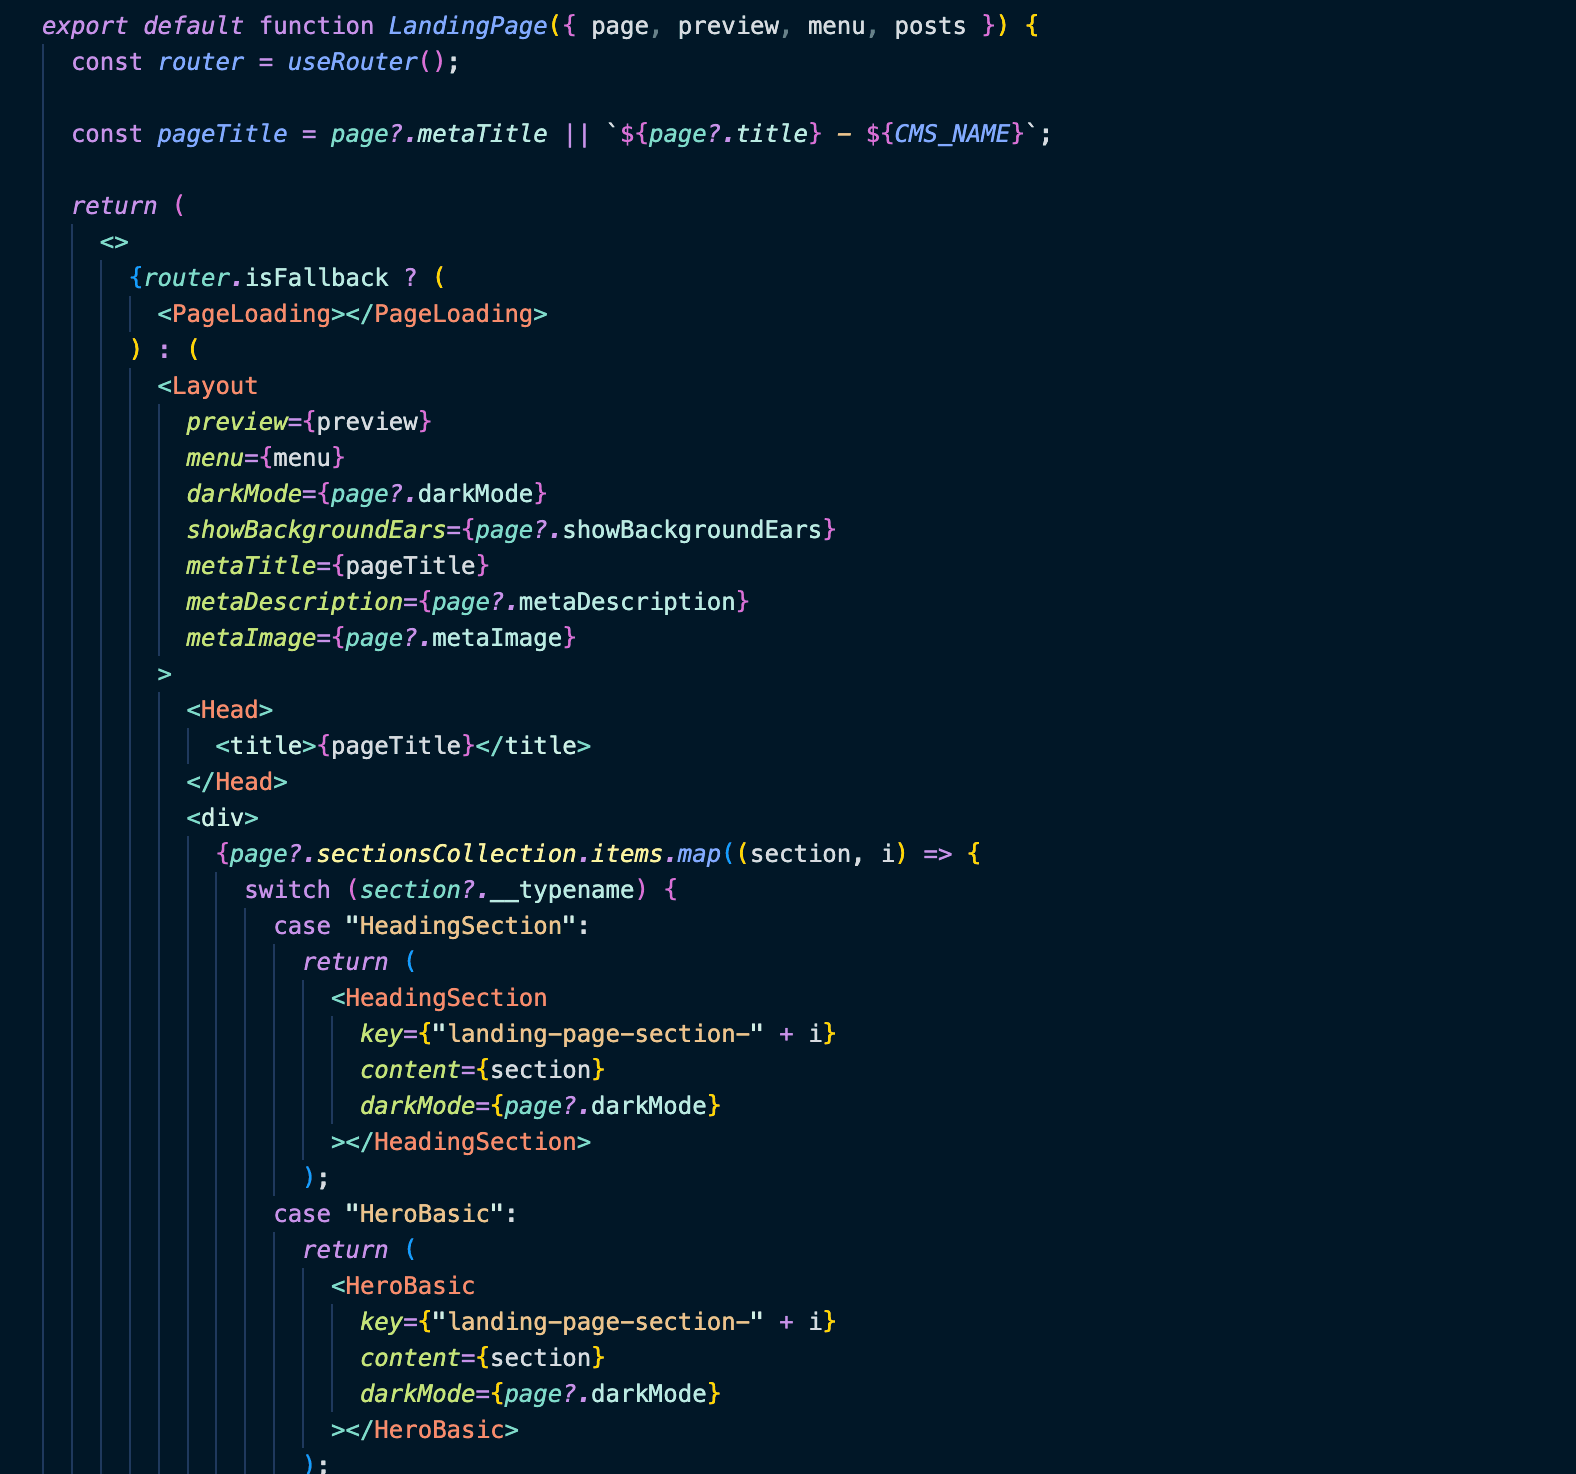
This pattern lets us quickly build new pages and mix and match the design components from within the Contentful UI, without having to deploy any new code changes to the Next.js app.
All in all, this took a couple of weeks to set up and we’re really happy with the results. A fast static website, that's easy to publish new pages, looks good and is backed by a sweet GraphQL API.